
Kokoro TTS: How to Run Locally Open Source Text-to-Speech Model?

Table Of Content
- What is Kokoro TTS?
- Key Features of Kokoro TTS
- How to Use Kokoro TTS?
- Step 1: Access the Model
- Step 2: Try It on Hugging Face Spaces
- Step 3: Run Kokoro TTS on Google Colab
- Performance and Latency
- Observations
- How to run Kokoro TTS locally on computer?
- Prerequisites
- Step 1: Clone the Kokoro TTS Repository
- Step 2: Set Up Your Development Environment
- Install Dependencies
- Step 3: Write the Python Code
- Set device (CPU or GPU)
- Load the model
- Define parameters
- Generate speech
- Save the audio file
- Key Points in the Code:
- Step 4: Download Model and Voice Files
- Step 5: Run the Script
- Testing the Output
- Customizing the Script
- Recap of Steps
- Applications of Kokoro TTS
- Training and Data
- Synthetic Data
- Conclusion
In this article, I’m going to introduce you to Kokoro TTS, a text-to-speech model that has achieved top-tier performance in the field. This model, developed by Hexgrad, is called Kokoro-82M, and it’s making waves in the open-source community. Let’s dive into everything you need to know about Kokoro TTS, including how to use it, its key features, and why it’s so impressive.
I’ll walk you through the step by step on how to run Kokoro TTS, one of the best open-source text-to-speech models, locally on your computer.
What is Kokoro TTS?
Kokoro TTS is a text-to-speech model that stands out for its efficiency and performance. With just 82 million parameters, it delivers high-quality audio output while maintaining a small file size of only 350 MB. This makes it an excellent choice for building low-latency applications, such as call center solutions or other speech-based systems.
Key Features of Kokoro TTS
- Small Size, High Performance: At just 350 MB, Kokoro TTS is lightweight yet delivers state-of-the-art performance.
- Multilingual Support: It supports multiple languages, including English (UK), French, Japanese, Chinese, and Korean.
- Commercial Use: Kokoro TTS is licensed under Apache 2.0, making it suitable for commercial applications.
- Low Training Requirements: The model was trained on less than 100 hours of audio data, which is relatively small compared to other models.
- Efficient Training Costs: It was trained on 8008 GB VRAM instances rented from Vast AI, costing less than $1 per hour per GPU.
How to Use Kokoro TTS?
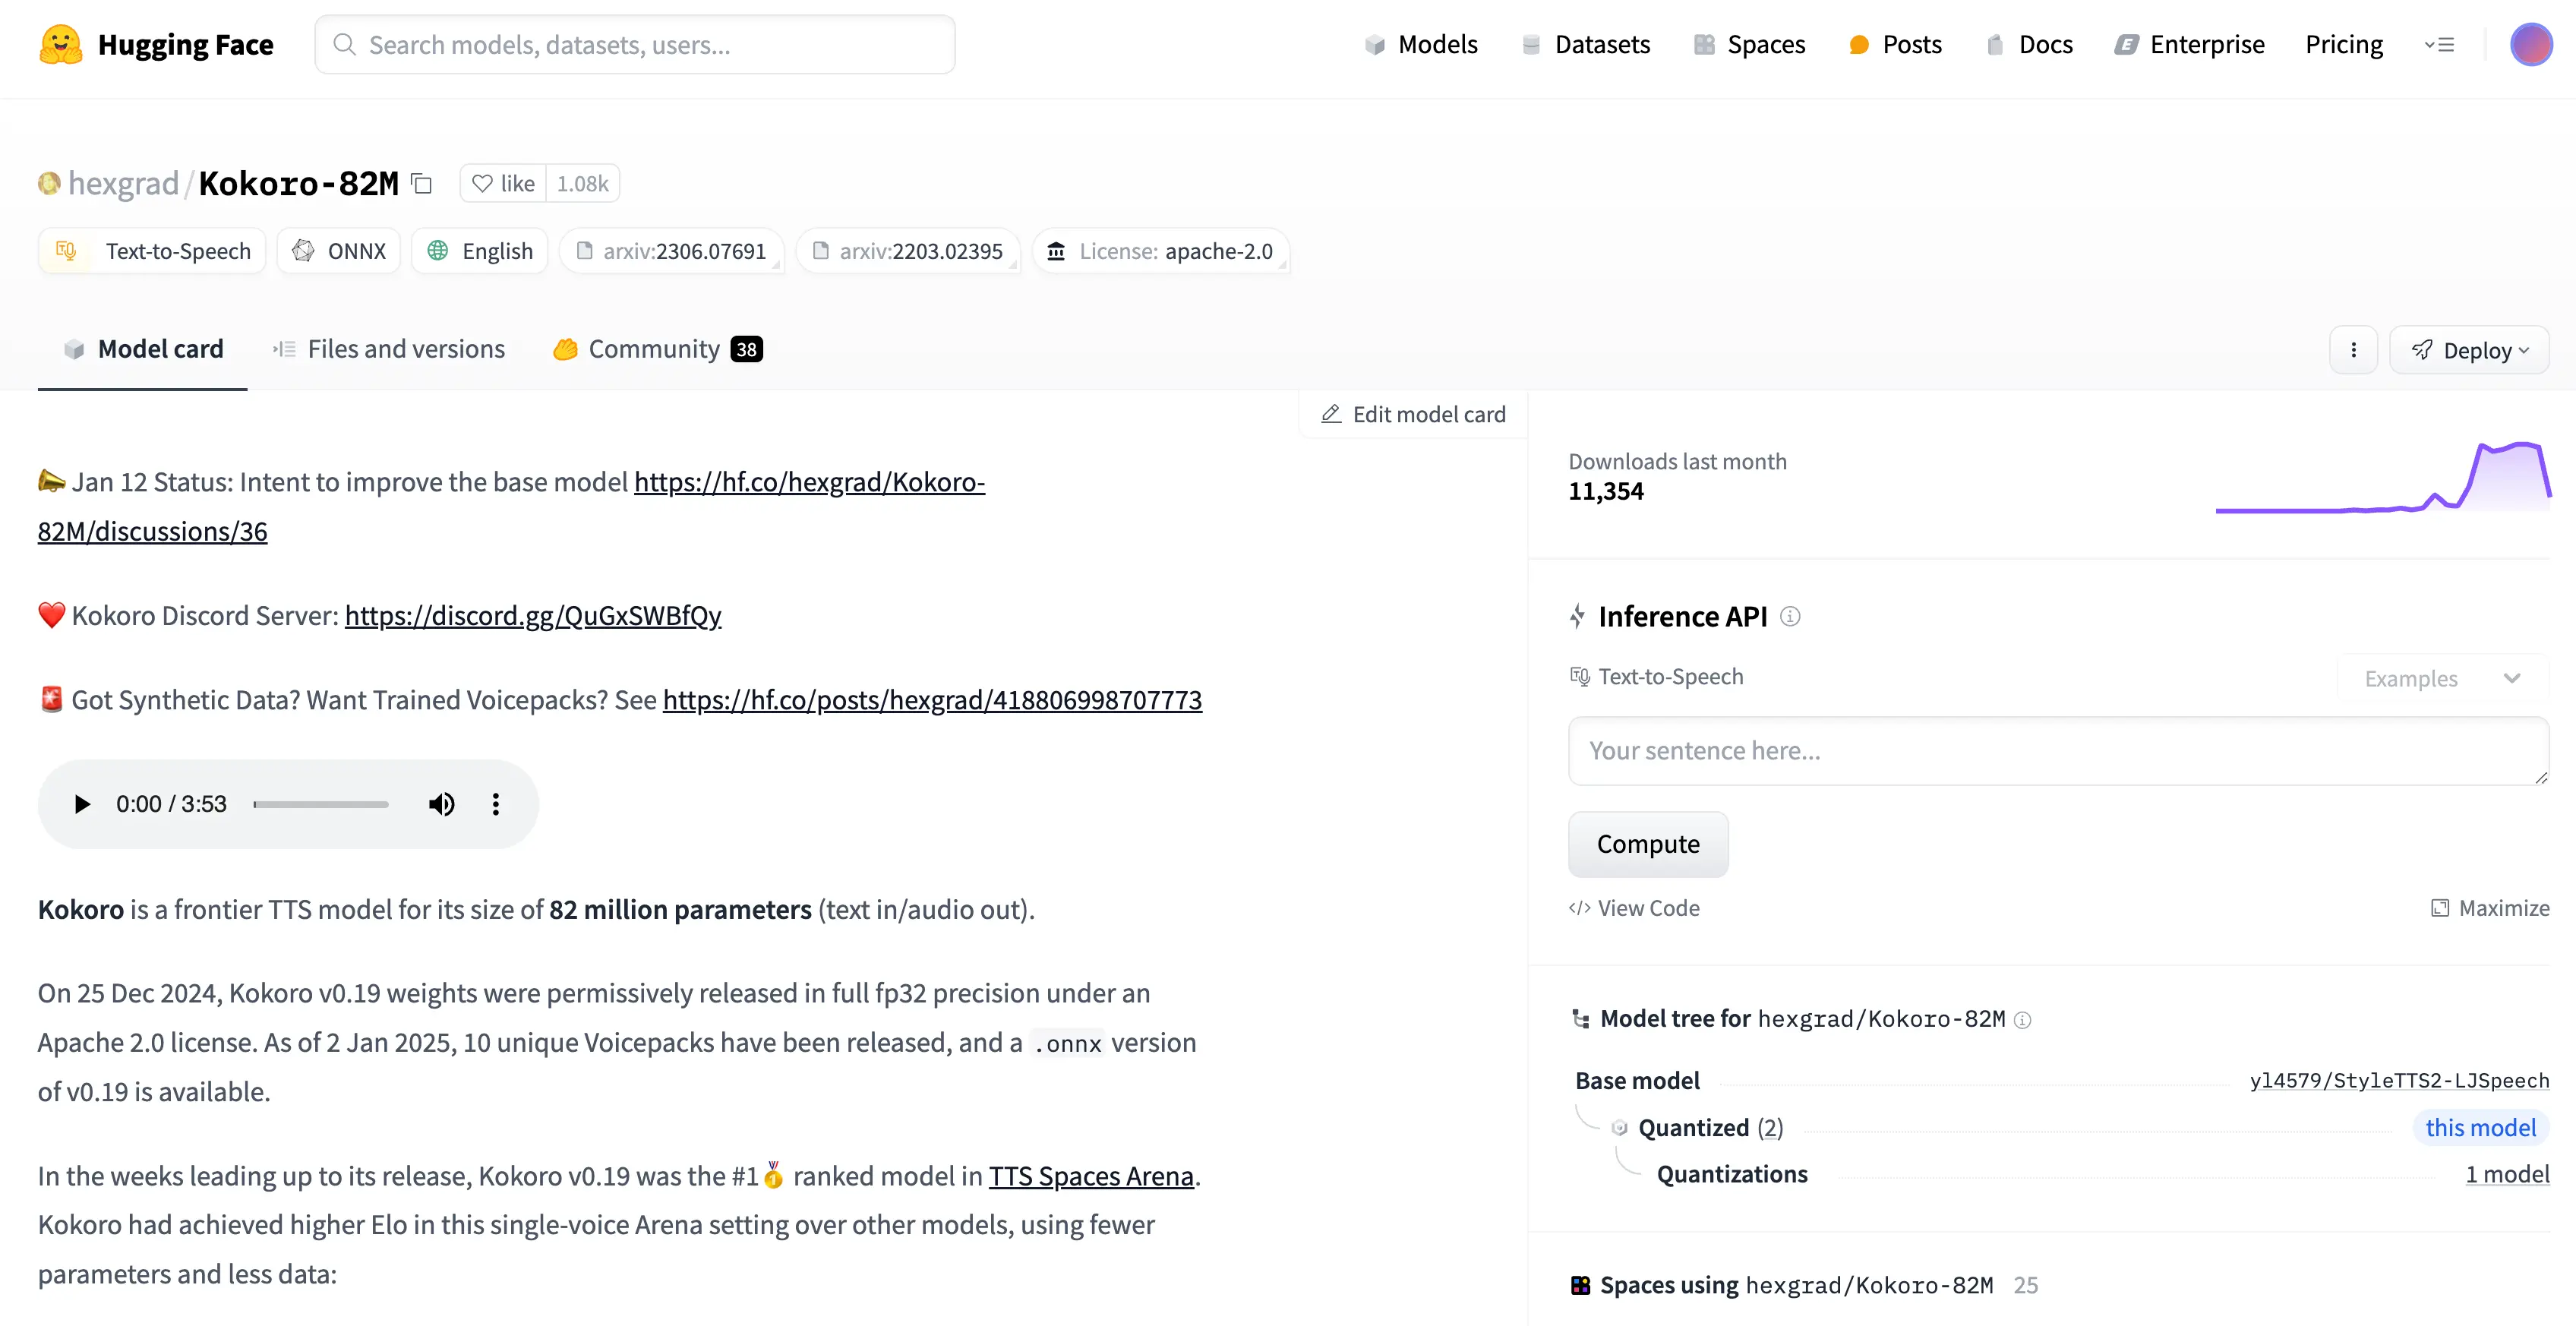
Step 1: Access the Model
To get started, you can access Kokoro TTS on its Hugging Face page. The model is available in both ONNX and PTH formats, each around 350 MB in size.
Step 2: Try It on Hugging Face Spaces
Hugging Face provides a Spaces interface where you can test Kokoro TTS without any setup. Here’s how:
- Go to the Kokoro TTS Space on Hugging Face.
- Input your text in the provided field. For example, you can type:
"AI anytime is trying to create good videos. The community is growing." - Select a voice from the available options (e.g., Sarah for a female voice).
- Click "Generate" to create the audio.
.webp)
The generation process is fast, typically taking just a few seconds. However, due to high traffic on the platform, there might be occasional delays.
Step 3: Run Kokoro TTS on Google Colab
If you want to run Kokoro TTS locally or on a cloud environment like Google Colab, follow these steps:
- Install the required dependencies:
!git lfs install !pip install torch - Clone the Kokoro TTS repository:
!git clone https://huggingface.co/hexgrad/Kokoro-82M - Import the necessary modules and load the model:
from kokoro import generate - Generate audio by calling the
generatefunction:audio = generate("How could I know it's an unanswerable question?")
The model runs efficiently even on CPUs, making it accessible for a wide range of devices, including low-power systems like the Jetson Nano or Raspberry Pi.
Performance and Latency
One of the standout features of Kokoro TTS is its low latency. Even when running on a CPU, the model generates audio in just a few seconds. This makes it ideal for real-time applications, such as voice assistants or interactive avatars.
Observations
- Handling Acronyms: Kokoro TTS sometimes struggles with acronyms like "AI." Removing or converting them can improve the output quality.
- Multilingual Support: The model performs well across supported languages, though tokenizers for Chinese, Japanese, and Korean may not handle English letters perfectly.
How to run Kokoro TTS locally on computer?
Prerequisites
Before we begin, ensure you have the following:
- A terminal or command prompt.
- Git LFS (Large File Storage) installed.
- Python 3.8 or higher.
- A code editor like Visual Studio Code.
If you’re on Windows or Linux, some steps might require slight adjustments, but I’ll point those out as we go.
Step 1: Clone the Kokoro TTS Repository
The first step is to clone the Kokoro TTS repository from Hugging Face. Here’s how:
- Open your terminal.
- Ensure Git LFS is installed. If not, install it using the following command:
git lfs install - Clone the repository while skipping large files to save time and space:
git clone https://huggingface.co/hexgrad/Kokoro-82M
If the repository already exists, delete it and re-clone it:
rm -rf Kokoro-82M
git clone https://huggingface.co/hexgrad/Kokoro-82M
Once cloned, navigate into the repository:
cd Kokoro-82M You’ll see several files, including K.P, models.py, and plbp. These are essential for running the model.
Step 2: Set Up Your Development Environment
Install Dependencies
-
Install espeak-ng: This is a speech synthesis engine required for Kokoro TTS.
- On Mac, use Homebrew:
brew install espeak-ng - On Linux, use
sudo apt-get:sudo apt-get install espeak-ng - On Windows, download the pre-compiled binary from the official website.
- On Mac, use Homebrew:
-
Create a Virtual Environment:
python3 -m venv venv source venv/bin/activate -
Install PyTorch:
- For Mac (CPU version):
pip install --pre torch --index-url https://download.pytorch.org/whl/nightly/cpu - For Windows or Linux, select the appropriate version from the PyTorch website.
- For Mac (CPU version):
-
Install Additional Python Libraries:
pip install phonemizer transformers scipy munch soundfile
Step 3: Write the Python Code
Now, let’s write the Python script to run Kokoro TTS.
- Open Visual Studio Code or your preferred code editor.
- Create a new Python file, e.g.,
tts_demo.py. - Add the following code:
import torch
from models import TextToSpeech
from scipy.io.wavfile import write
import soundfile as sf

# Set device (CPU or GPU)
device = torch.device("cuda" if torch.cuda.is_available() else "cpu")

# Load the model
model = TextToSpeech().to(device)

# Define parameters
sample_rate = 24000
output_file = "output.wav"
text = "Hello, welcome to this text-to-speech test."

# Generate speech
with torch.no_grad():
    audio = model.generate(text)

# Save the audio file
sf.write(output_file, audio, sample_rate)
print(f"Audio saved to {output_file}")
Key Points in the Code:
- Device Selection: The script automatically detects if a GPU is available. If not, it defaults to the CPU.
- Model Loading: The
TextToSpeechclass frommodels.pyis used to load the Kokoro TTS model. - Audio Generation: The
generatemethod converts the input text into audio. - Saving the Output: The generated audio is saved as a
.wavfile.
Step 4: Download Model and Voice Files
If you skipped large files during cloning, you’ll need to download the model and voice files manually.
-
Download the Model File:
wget https://huggingface.co/hexgrad/Kokoro-82M/resolve/main/cv_19.pth -
Download the Voice Pack:
wget https://huggingface.co/hexgrad/Kokoro-82M/resolve/main/voices/aore_sky.pth
Place these files in the appropriate directories within the Kokoro-82M folder.
Step 5: Run the Script
Once everything is set up, run the script:
time python3 tts_demo.py The script will generate an audio file (output.wav) in the current directory. On a CPU, this process might take a few seconds.
Testing the Output
After running the script, play the output.wav file to hear the generated speech. For example, if the input text was:
"Hello, welcome to this text-to-speech test."
You should hear a clear and natural-sounding voice delivering the text.
Customizing the Script
You can modify the script to:
- Change the input text.
- Use different voice packs (e.g., male or female voices).
- Adjust the sample rate for higher or lower audio quality.
For example, to generate a shorter sentence:
text = "Hey, please subscribe to One Little Coder. He is amazing." Recap of Steps
- Clone the Kokoro TTS repository, skipping large files.
- Install dependencies (espeak-ng, PyTorch, and other Python libraries).
- Write and run the Python script to generate speech.
- Download the model and voice files if skipped during cloning.
- Test the output and customize the script as needed.
Applications of Kokoro TTS
Kokoro TTS is versatile and can be used in various applications, including:
- Audiobook Creation: Generate long-form audio content effortlessly.
- Voice Assistants: Build real-time, low-latency voice interaction systems.
- Call Center Solutions: Implement speech-based systems for customer support.
- Interactive Avatars: Create engaging, voice-enabled virtual characters.
Training and Data
Kokoro TTS was trained exclusively on permissive, non-copyrighted, public domain audio data. This ensures that the model is free from legal restrictions and can be used commercially without concerns.
Synthetic Data
The use of synthetic data is becoming increasingly common in training AI models. According to recent reports, 60% of models trained in 2023 and 2024 rely on synthetic data. Kokoro TTS follows this trend, using synthetic audio to achieve its impressive performance.
Conclusion
Kokoro TTS is a powerful, open-source text-to-speech model that combines high performance with low resource requirements. Its small size, multilingual support, and low latency make it an excellent choice for a wide range of applications. If you’re building a voice assistant, creating audiobooks, or developing interactive avatars, Kokoro TTS is a tool worth exploring.
If you’re interested in trying out Kokoro TTS, you can access it on Hugging Face here.
Related Posts

3DTrajMaster: A Step-by-Step Guide to Video Motion Control
Browser Use is an AI-powered browser automation framework that lets AI agents control your browser to automate web tasks like scraping, form filling, and website interactions.
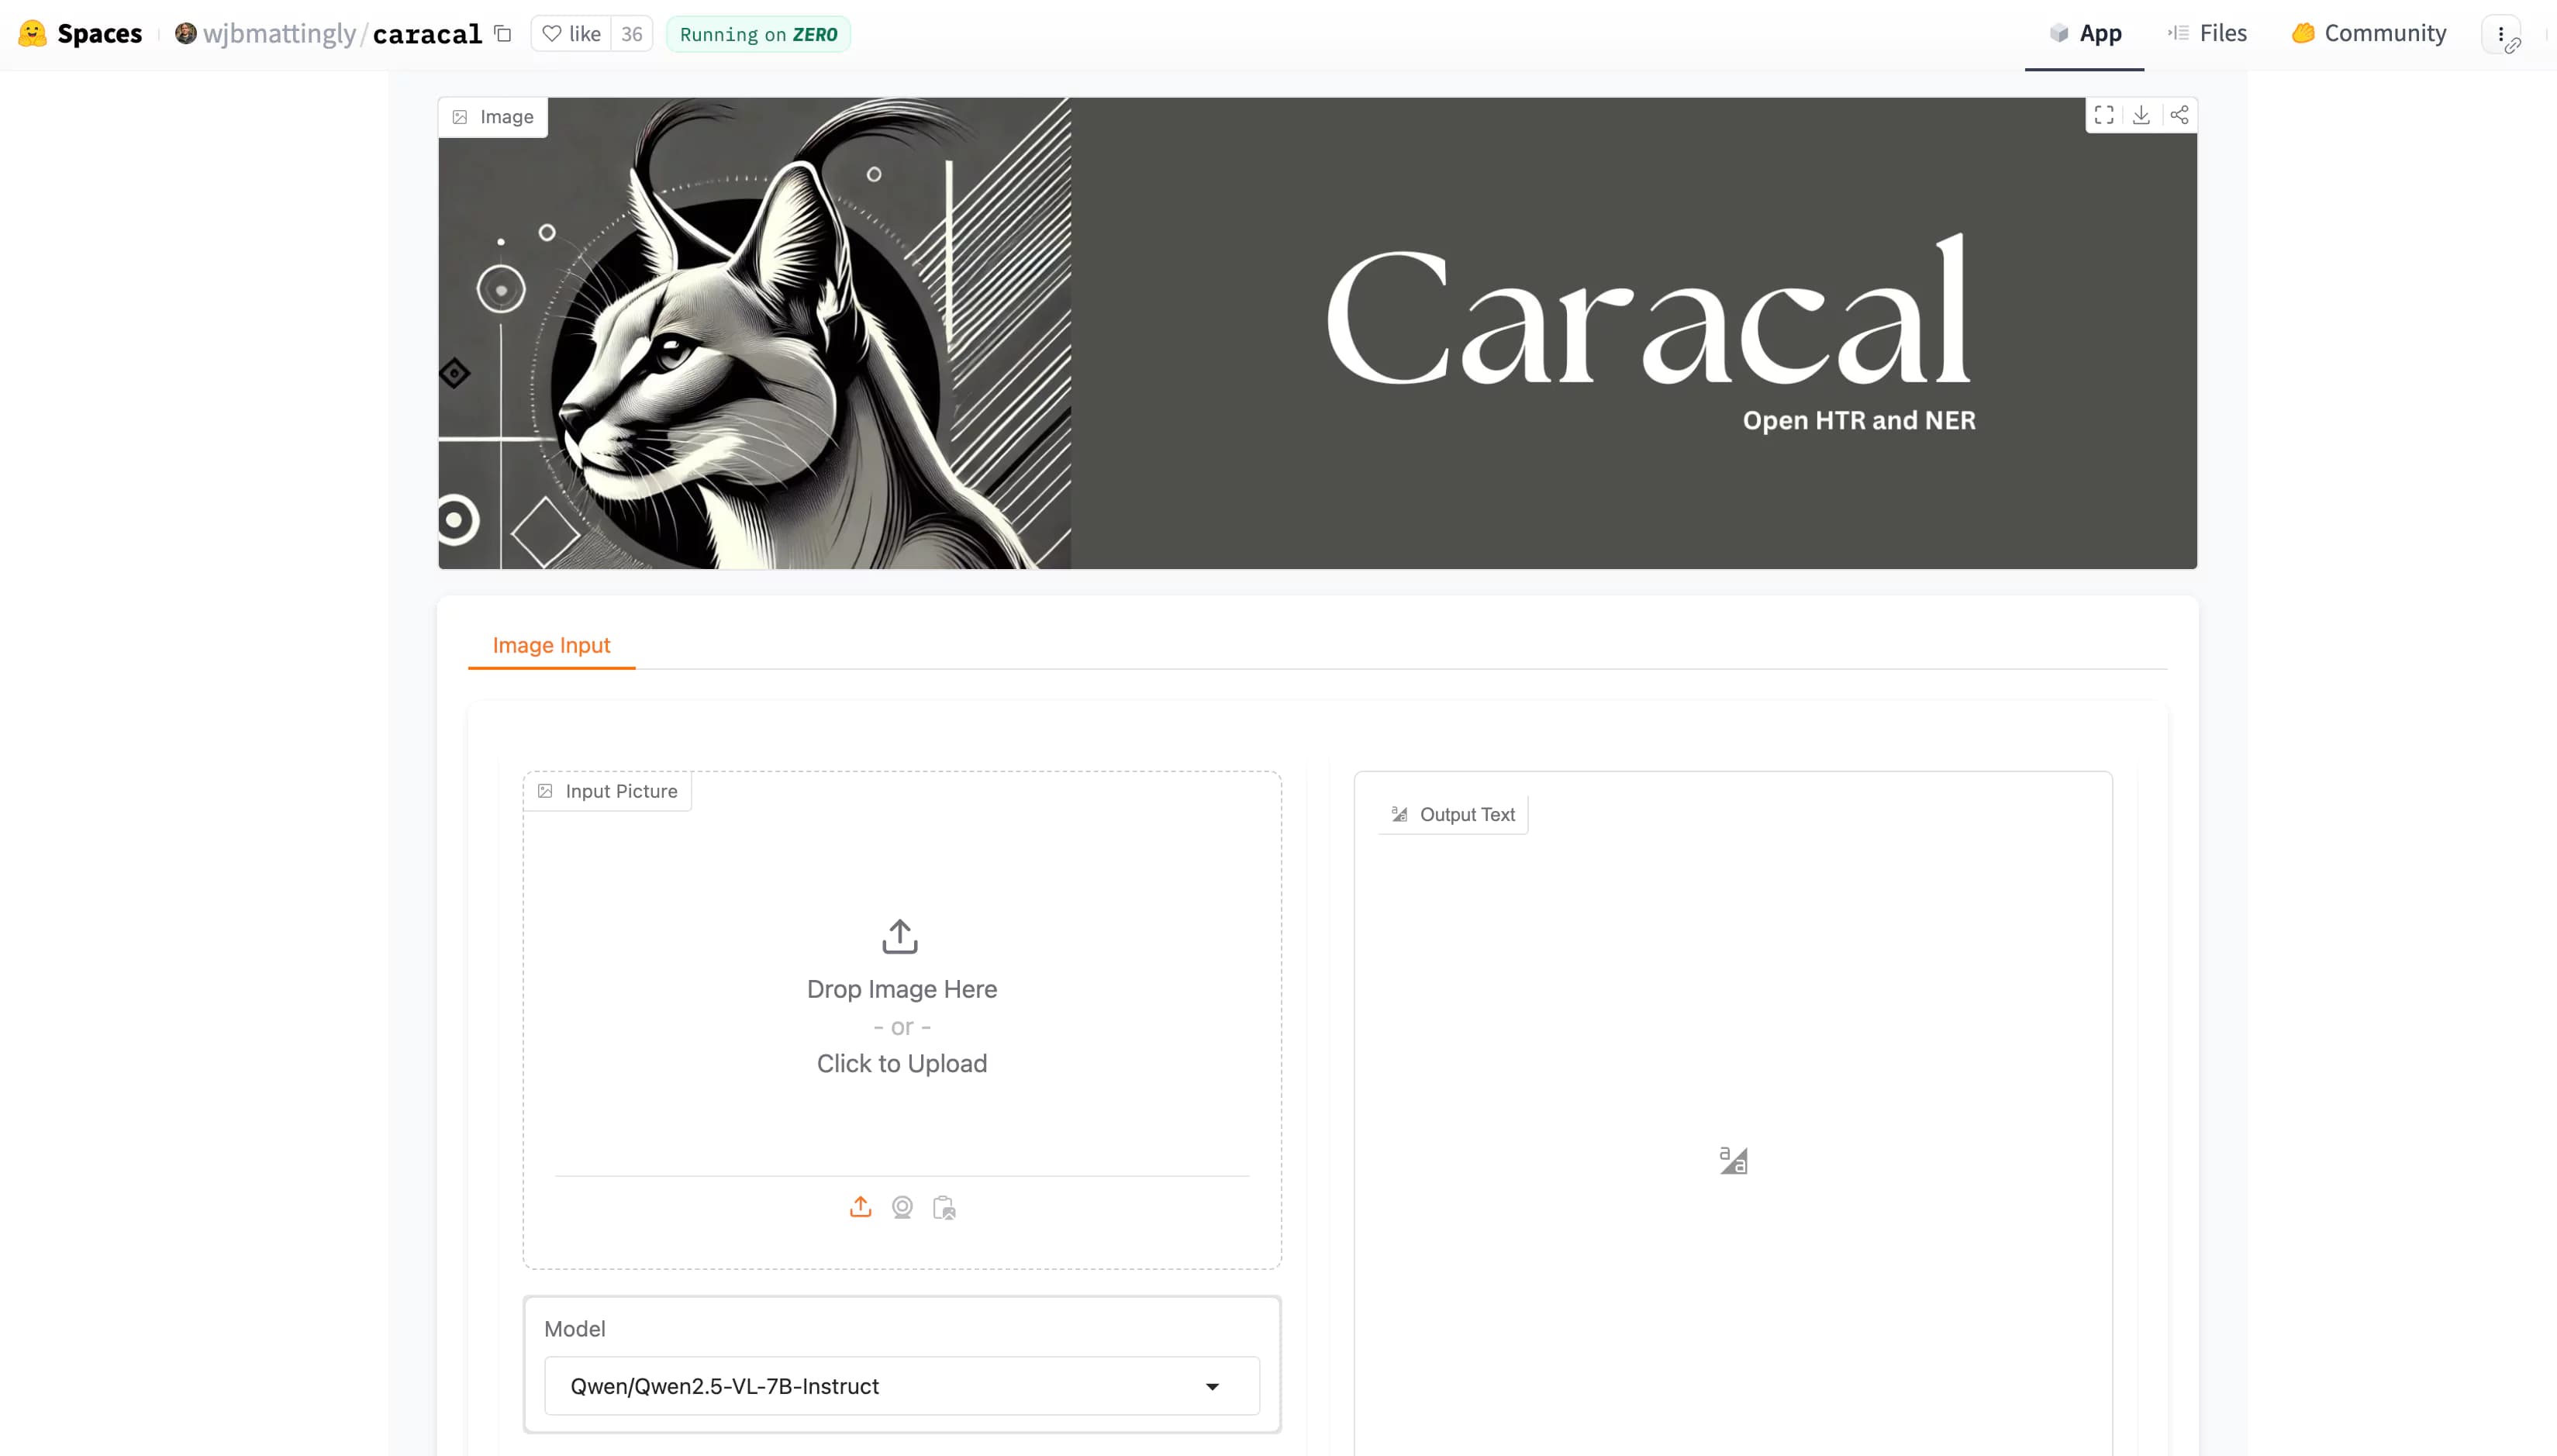
Caracal AI: Free Tool for Handwritten Text Recognition, Extract text from Images
Caracal is a text recognition project that has been widely cloned and fine-tuned by users for specific purposes. The project leverages advanced technology for text recognition tasks, as highlighted in the provided transcript snippet.

Browser-Use Free AI Agent: Now AI Can control your Web Browser
Browser Use is an AI-powered browser automation framework that lets AI agents control your browser to automate web tasks like scraping, form filling, and website interactions.