
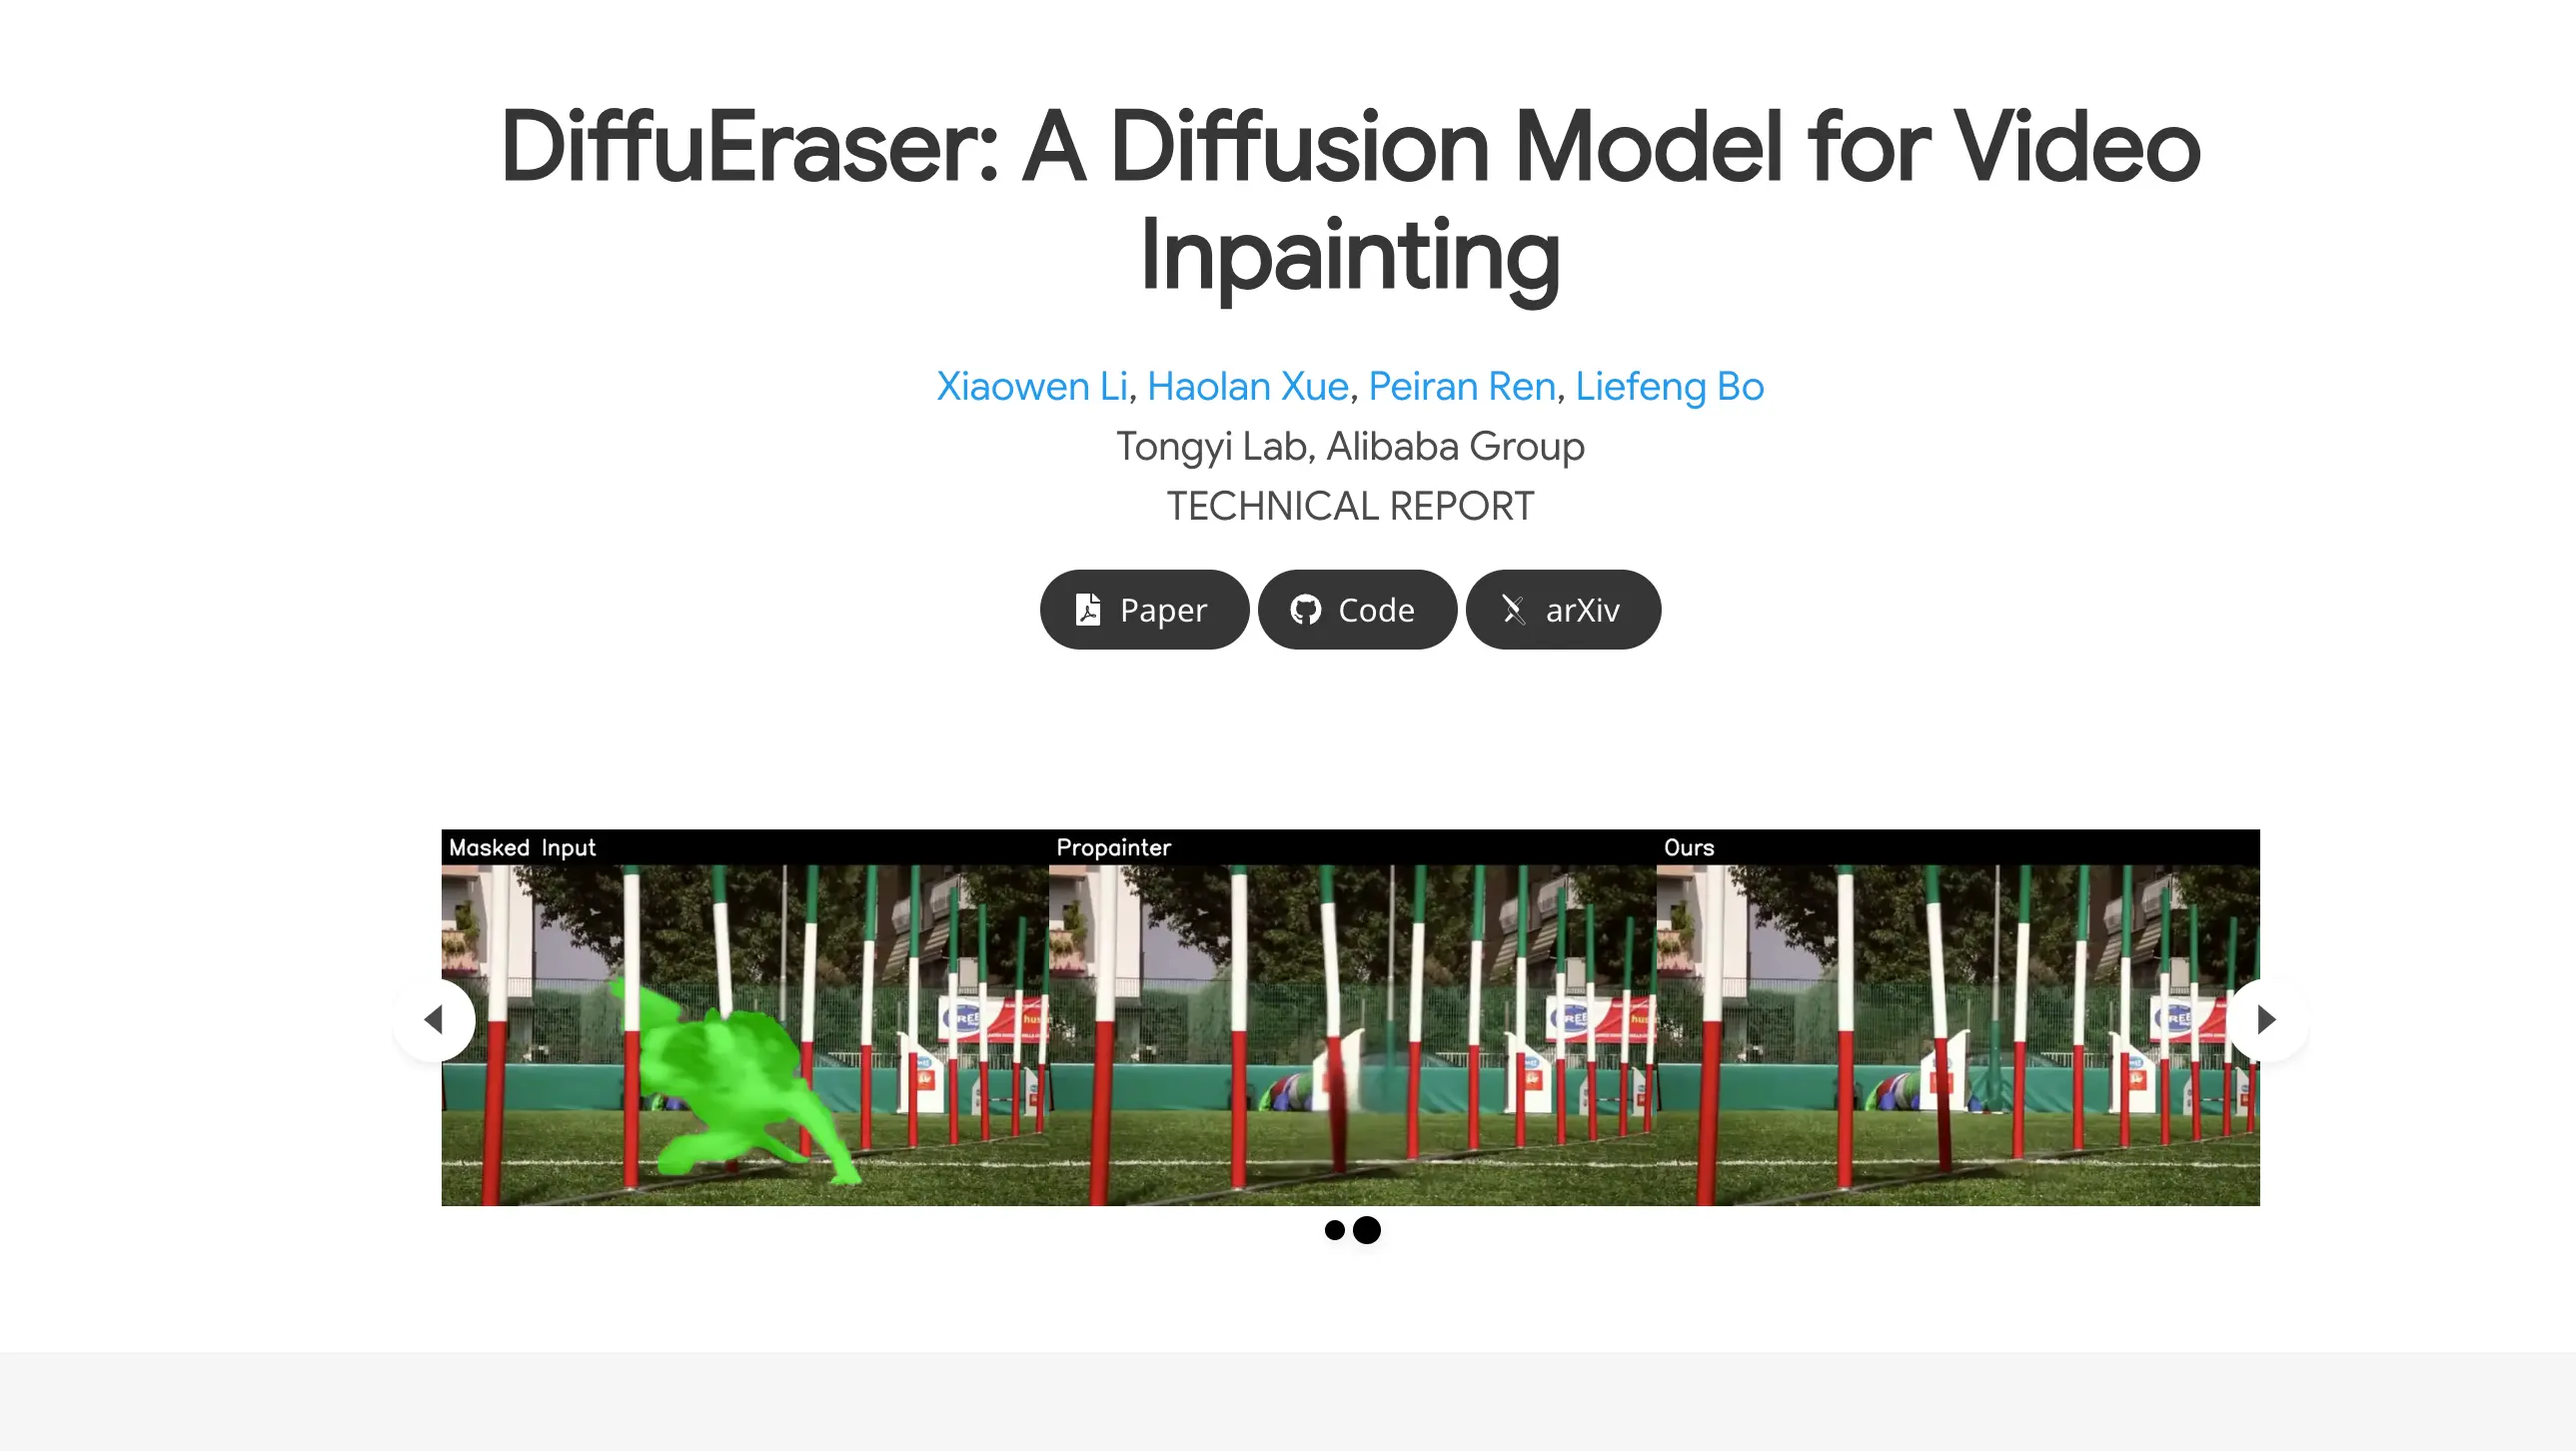
DiffuEraser AI: Advanced AI Tool for Erasing Objects in Videos

Table Of Content
- What is DiffuEraser AI?
- Method Overview
- How to Use the DiffuEraser using GitHub Repo?
- Installation
- Running Inference
- Notes
- Examples of DiffuEraser in Action
- Example 1: Erasing a Dog from a Video
- Example 2: Masking Out a Person
- Example 3: Erasing a Dancer
- Example 4: Erasing Multiple Objects
- Example 5: Erasing a Boy from a Video
- How Does DiffuEraser Work?
- Potential Use Cases for DiffuEraser
- How to Get Started with DiffuEraser
- Final Thoughts
In this article, I’ll walk you through an incredible AI tool called DiffuEraser, which allows you to erase objects or fill in missing parts of a video. I’ll share examples, explain how it works, and discuss its potential applications.
What is DiffuEraser AI?
DiffuEraser is a powerful AI tool designed to erase objects or fill in missing parts of a video. It’s a significant improvement over previous methods, such as ProPainter, and offers more consistent and impressive results.
Below, I’ll show you some examples to demonstrate its capabilities.
Method Overview
The network combines a primary denoising UNet with an auxiliary BrushNet branch. BrushNet extracts features, which are integrated into the UNet after a zero convolution block.
Temporal attention mechanisms improve consistency, and the final output is blended with input masked images using blurred masks.
How to Use the DiffuEraser using GitHub Repo?
Installation
-
Clone the Repository:
git clone https://github.com/lixiaowen-xw/DiffuEraser.git -
Set Up Conda Environment:
conda create -n diffueraser python=3.9.19 conda activate diffueraser pip install -r requirements.txt -
Download Pretrained Models:
- Download models from Hugging Face or ModelScope.
- Place them in the
./weightsdirectory with the following structure:weights/ |- diffuEraser/ |- stable-diffusion-v1-5/ |- PCM_Weights/ |- propainter/ |- sd-vae-ft-mse/
Running Inference
-
Navigate to the Repo:
cd DiffuEraser -
Run the Script:
python run_diffueraser.py- Results are saved in the
resultsfolder. - Replace
input_videoandinput_maskinrun_diffueraser.pywith your own files.
- Results are saved in the
-
Video Conversion (if needed):
- Convert frames to video using
ffmpeg:ffmpeg -i image%03d.jpg -c:v libx264 -r 25 output.mp4 - Ensure the frame rates of
input_videoandinput_maskmatch.
- Convert frames to video using
Notes
- The first inference may take longer.
- Only
.mp4videos are supported as input.
Examples of DiffuEraser in Action
Example 1: Erasing a Dog from a Video
In the first example, we have a video where a dog is walking across the scene. On the left side, you can see the original video, and on the right, the result after using DiffuEraser to erase the dog.
- ProPainter (Previous Method): While ProPainter attempts to erase the dog, it struggles with consistency and leaves noticeable artifacts.
- DiffuEraser (New Method): DiffuEraser, on the other hand, does an excellent job of removing the dog and filling in the background seamlessly. Even in this tricky scene, the results are impressive.
Example 2: Masking Out a Person
In another example, we have a video where a person is walking in the background.
- ProPainter: When using ProPainter to mask out the person, there are visible artifacts where the person used to be.
- DiffuEraser: DiffuEraser, however, generates the background where the person was standing, making it look natural and consistent.
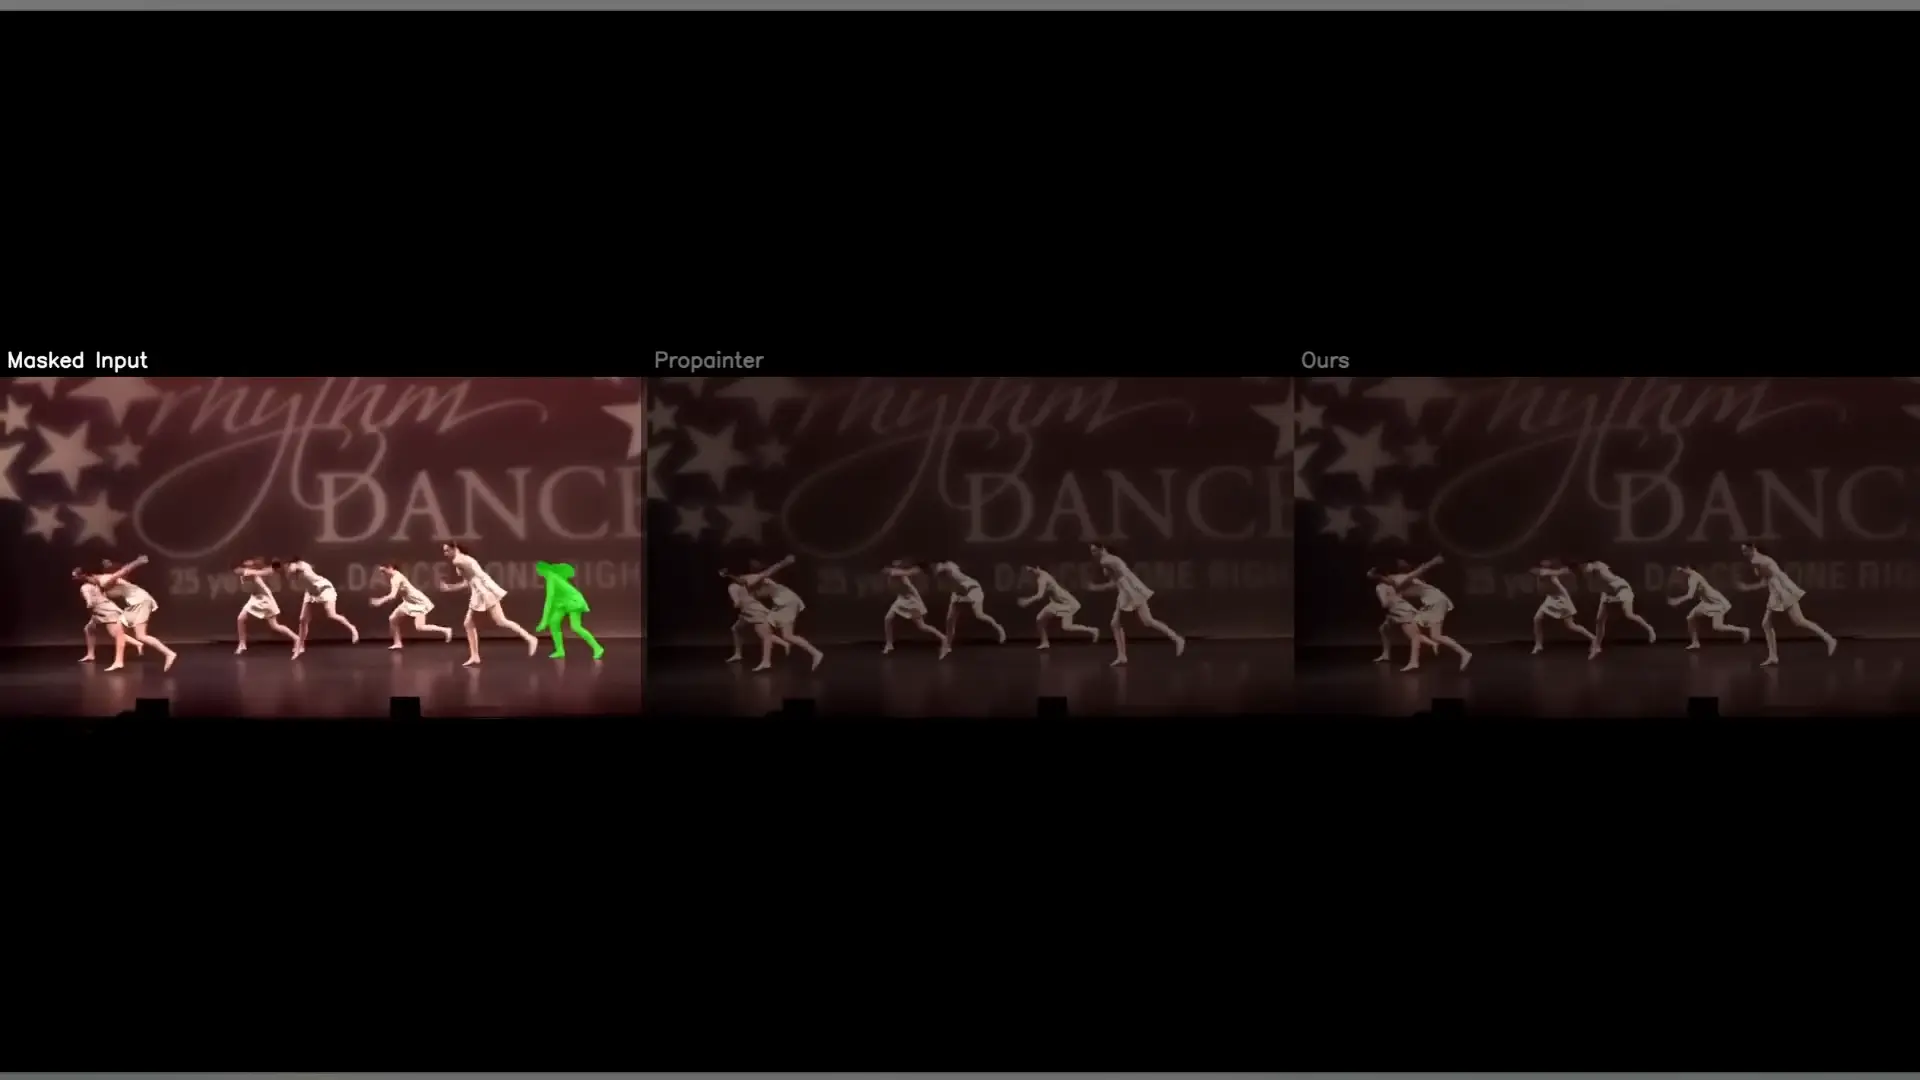
Example 3: Erasing a Dancer
Here’s a slightly more complex example. Let’s say you want to erase a dancer from the video.
- DiffuEraser’s Performance: The tool handles this task well, but there’s a noticeable flaw—the dancer’s reflection is still visible. It would be great if the reflection could also be removed in future updates.
Example 4: Erasing Multiple Objects
DiffuEraser isn’t limited to erasing just one object. You can select multiple objects and erase them simultaneously.
- Erasing Four Kids: In this example, we erase four kids from the video. DiffuEraser handles this task effectively, filling in the background where the kids were standing.
- Erasing a Kid and a Soccer Ball: In another scene, we erase both a kid and a soccer ball. Again, the AI does a great job of removing the objects and filling in the background.
Example 5: Erasing a Boy from a Video
In this example, we erase a boy from the video.
- ProPainter’s Limitations: ProPainter struggles with the edges of the boy’s arm, leaving artifacts.
- DiffuEraser’s Improvement: DiffuEraser fixes this issue and removes the boy seamlessly, making the video look natural.
How Does DiffuEraser Work?
Now that we’ve seen some examples, let’s talk about how DiffuEraser works.
The process involves several steps:
- Input Video: You start by providing the input video.
- Masking: The tool masks out the part of the video you want to erase, frame by frame.
- Diffusion Model: It uses a diffusion model to fill in the blanks based on the background.
- Temporal Attention: The tool also employs something called temporal attention, which keeps track of how the video changes over time. This ensures that the final video is consistent and smooth.
Potential Use Cases for DiffuEraser
DiffuEraser has a wide range of applications, making it a versatile tool for various industries.
Here are some potential use cases:
- Animation and Special Effects: It can be used to create animations or add special effects by removing unwanted elements from a scene.
- Logo or Watermark Removal: You can use it to remove logos, watermarks, or other elements from videos.
- Video Editing: It’s a great tool for video editors who want to clean up their footage by removing distractions or unwanted objects.
How to Get Started with DiffuEraser
- GitHub Repo: The developers have already released a GitHub repository. You can find all the instructions on how to download and run the tool locally on your computer.
- Gradio Demo: They are also planning to release a Gradio demo, which will provide a more user-friendly graphical interface for running the tool.
Final Thoughts
DiffuEraser is an impressive AI tool that makes it easy to erase objects or fill in missing parts of a video. It outperforms previous methods like ProPainter and offers consistent, high-quality results.
If you’re excited to try it out, go over to the GitHub repo and follow the instructions to get started.
Related Posts

3DTrajMaster: A Step-by-Step Guide to Video Motion Control
Browser Use is an AI-powered browser automation framework that lets AI agents control your browser to automate web tasks like scraping, form filling, and website interactions.

Caracal AI: Free Tool for Handwritten Text Recognition, Extract text from Images
Caracal is a text recognition project that has been widely cloned and fine-tuned by users for specific purposes. The project leverages advanced technology for text recognition tasks, as highlighted in the provided transcript snippet.

Browser-Use Free AI Agent: Now AI Can control your Web Browser
Browser Use is an AI-powered browser automation framework that lets AI agents control your browser to automate web tasks like scraping, form filling, and website interactions.